 Clockwork Blog
Shoot 'em up tutorial: 1 - Getting started

It is time to get our hands dirty and develop our first Clockwork game! Don’t worry if you have no previous experience with JavaScript and/or game development, this tutorial will guide you through every step.
We are going to develop the “ShootEmUp” game you can find in the Clockwork demos, if you get lost remember that you can find the full source code of the game at the git repo containing the demos and more information at the online documentation .
First of all, you will need to get the Clockwork Runtime and tools, here you can find instructions for doing so.
Once you are ready open Visual Studio Code and go to File > Open folder and select an empty folder, where you will store your project. Then, press F1 to open the VS Code command window and execute Create Clockwork Project (start writing the command and it will autosuggest it). It will prompt you for a project name (be creative!) and create a starter project.
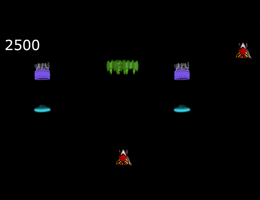
You can now try to deploy your project to the Clockwork Runtime (press F1 > Deploy Clockwork Project), and if you have everything set up correctly you should see how the Clockwork Runtime launches and the game is installed (If you run this sample game, a cute dog will greet you!). If something fails, this means you might have missed some installation step, so please go back and check everything.
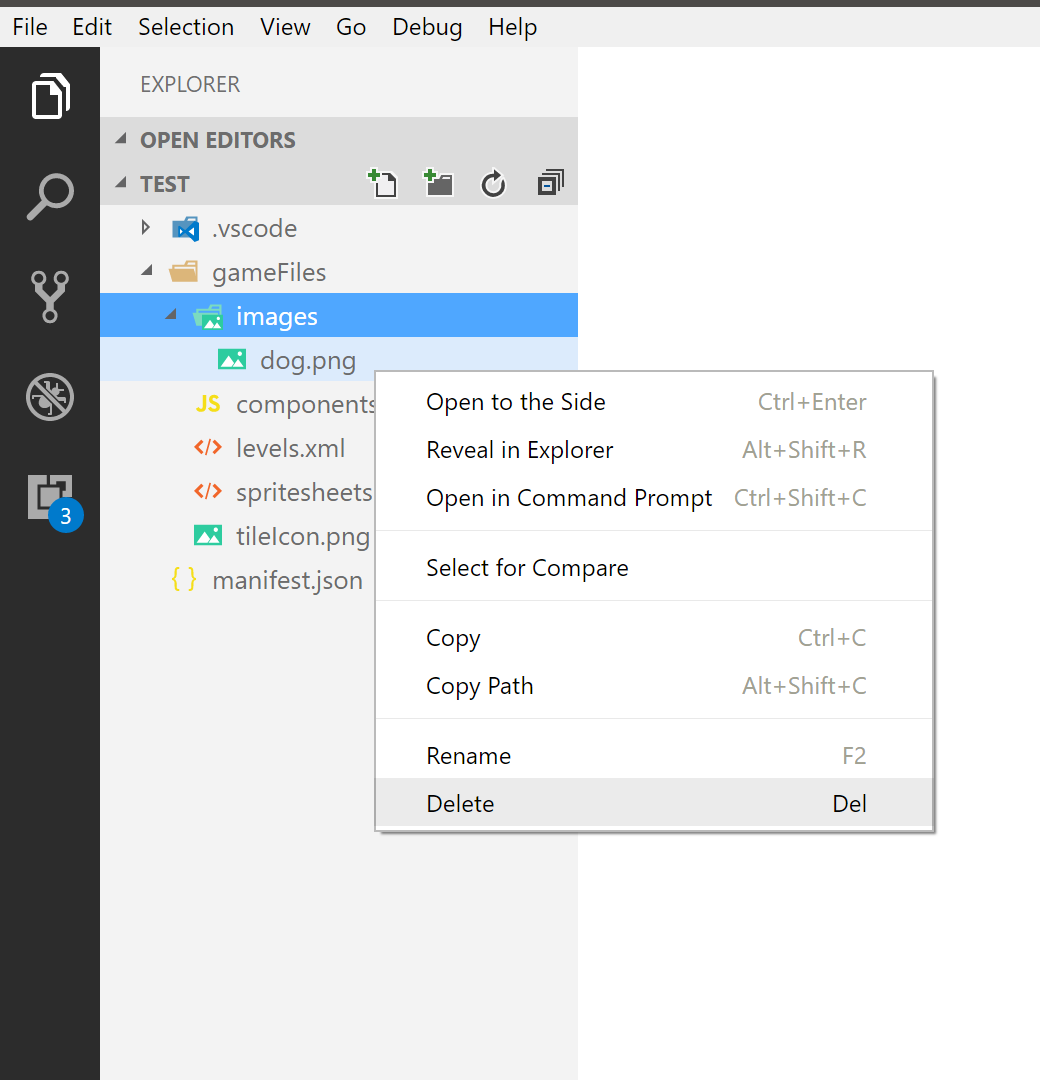
Now, it is time to get rid of the unnecessary assets that came with the starter project. Feel free to delete dog.png and edit some files.
In levels.xml, delete this line:
<object name="JakeTheDog" type="talkingDog" x="200" y="200" ></object>In spritesheets.xml, delete the dog spritesheet so you are left with this:
<?xml version="1.0" encoding="utf-8"?>
<spritesheets>
</spritesheets>
In components.js, delete the dog component so you are left with this:
CLOCKWORKRT.components.register([
]);
Next, we will download the game assets. Open the folder with the file explorer and replace tileIcon.png with the image found here and copy the image found here inside the images folder, with the name spaceships.png. Feel free to modify this pictures with your favorite image editor to give your game a unique feel!
Now, go to manifest.json and make some changes:
- Change the background color to
#000(black) - Set both the engine fps (frames per second) and the animation frames per second to
30. This will instruct the engine to execute your game logic and redraw the game 30 times each second.
We are now ready to start working in our game, keep reading part 2 of this tutorial to learn how to implement the player’s ship!